
Theodore Lowe, Ap #867-859
Sit Rd, Azusa New York
Find us here
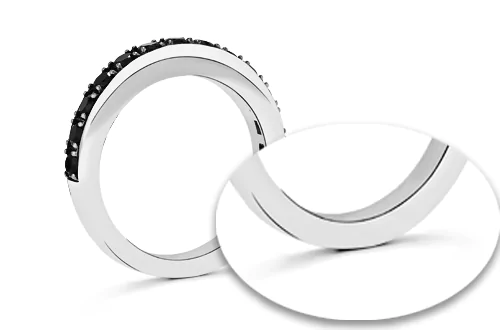
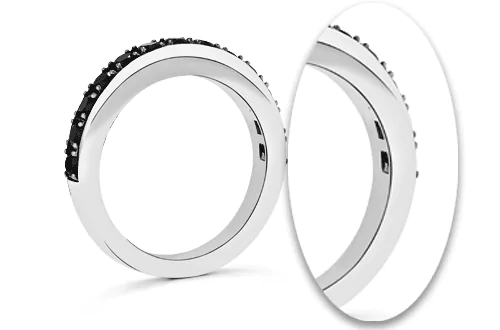
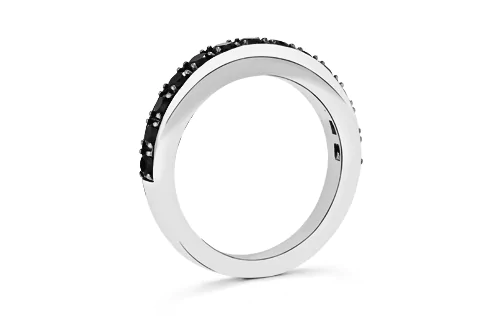
How to Edit Jewelry products photo
Editing jewelry product photos is essential in the competitive e-commerce landscape, where eye-catching visuals can significantly increase conversions. High-quality images not only showcase the intricate details and craftsmanship of the jewelry but also build customer trust in the brand. An impactful jewelry photo should convey the product's luxury and quality, compelling customers to make a purchase.
By employing advanced editing techniques such as background removal, color correction, and retouching, sellers can produce striking images that stand out in the marketplace. Proper editing helps in creating a consistent visual theme for the brand, which is vital for establishing a professional online presence. Careful attention to such details can make a substantial difference in the perceived value of the jewelry items and the overall user experience on any platform.
The Importance of High-quality Jewelry Images
Presenting jewelry product photos in the best light is crucial.
High-quality images captivate and engage potential buyers. They can make or break a sale. Editing these photos is necessary to highlight the jewelry's beauty, detail, and shine.
Impacting Customer Perceptions
First impressions matter, especially in the online marketplace.
- Clear, detailed visuals influence a customer’s view of quality.
- Professionally edited images reflect a brand's commitment to excellence.
- Consistency in photo quality builds trust and brand identity.
Editing ensures every piece of jewelry showcased is seen at its absolute best.
Boosting Online Sales
Effective visuals drive purchasing decisions.
- High-resolution images can highlight intricate details like craftsmanship and gemstone clarity.
- Enhanced features, such as zoom and 360-degree views, improve user experience.
- Visually appealing images are shared more often, increasing reach and potential customer base.
Edited photos that showcase jewelry in its best form can directly impact sales.
Essential Pre-editing Tips
Before diving into the editing process, it's crucial to set the stage for flawless jewelry photos. Perfecting the basics ensures less work during post-editing and leads to dazzling results. Master these pre-editing tips to bring out the shine and allure in every jewelry piece.
Proper Jewelry Setup
Clean your jewelry. Dust and fingerprints can ruin a photo. Use a soft brush or cloth to make each piece sparkle. Secure the jewelry to avoid movement, ensuring sharp images. Consider using tack, wax, or props for support.
Choosing the Right Background
The background can make or break your jewelry photo. Select a hue that contrasts with the jewelry for it to pop. Avoid busy patterns that distract from the piece. Consider simple options, like white or soft shades, for a classy look.
Optimal Lighting for Brilliance
Lighting can transform jewelry from dull to dazzling. Use natural light for a soft glow or LED lights for consistency. Avoid harsh shadows by using diffusers or bouncing light off reflectors. Aim for multiple angles to highlight gems and details.
Photo Editing Software Choices
Welcome to the essential guide on Photo Editing Software Choices for enhancing jewelry product images. Whether for a small business or a professional studio, the right software can transform simple snapshots into stunning visuals. This section delves into the various options available to jewelers and photographers alike.
Cost-effective Vs. Professional Tools
Finding the perfect balance between affordability and quality is key. Many software options cater to different budget ranges. For beginners or small businesses, cost-effective tools are a boon.
- GIMP - A free and open-source option with extensive features.
- Paint.NET - Ideal for basic edits, offering a user-friendly interface.
Professional jewelers may prefer advanced software:
- Adobe Photoshop - The industry standard with unmatched capabilities.
- Adobe Lightroom - For bulk editing and color correction.
These tools offer depth but require investment. They ensure precision and high-quality results.
Software Ease of Use
Complex software can be daunting. Each program's learning curve varies significantly.
- GIMP and Paint.NET are more accessible for beginners.
- Professional tools like Photoshop need time and training to master.
Choose software that aligns with your skill level and editing needs.
|
Software |
Ease of Use |
Skill Level Required |
|
GIMP |
Moderate |
Beginner |
|
Paint.NET |
Easy |
Beginner |
|
Photoshop |
Challenging |
Advanced |
|
Lightroom |
Moderate |
Intermediate |
Selecting the right software is a crucial step in producing dazzling jewelry photos. From cost-effective tools like GIMP to professional-grade options such as Adobe Photoshop, the choice should align with both budget and experience level. Embrace the software that suits your needs, and watch your jewelry shine in every image!
Basic Steps in Jewelry Photo Editing
Editing jewelry photos is a critical step for any jewelry business. A sparkling, clear image can dazzle potential buyers. Here are some basic steps to ensure each piece looks stunning.
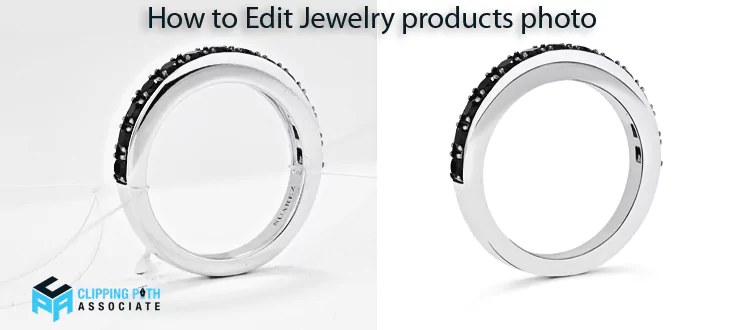
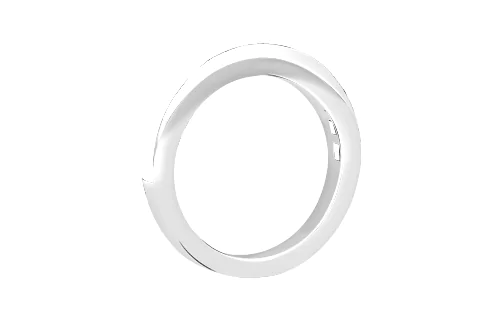
Removing Unwanted Backgrounds
Background removal makes your jewelry stand out. Here’s how to do it:
- Select the jewelry: Use a selection tool in your editing software.
- Remove the background: After selecting, delete or mask the background.
- Refine edges: Smooth the selection for a natural look.
Adjusting Brightness and Contrast
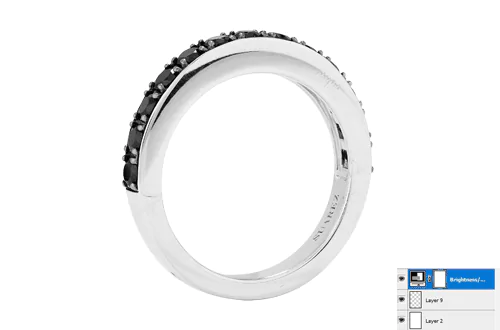
Proper lighting settings bring out the sparkle. Follow these tips:
- Brightness: Slide to brighten without overexposing.
- Contrast: Adjust to define details and make them pop.
Enhancing Color and Sharpness

Colors and sharpness affect a photo’s appeal. Execute these steps for enhancement:
|
Aspect |
Editing Action |
|
Color |
Adjust saturation for true-to-life hues. |
|
Sharpness |
Apply subtle sharpening to showcase intricate details. |
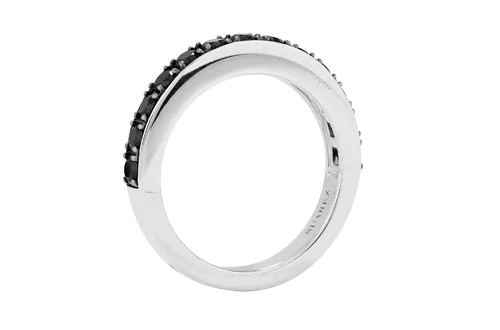
Advanced Techniques for a Polished Look
The Advanced Techniques for a Polished Look take jewelry photos from good to stunning. Fashion or e-commerce sites need images that sparkle. Learn how to make jewelry shine online.
Retouching Gemstones and Metals

Editing gemstones and metals is delicate. Use these tips for retouching:
- Adjust brightness and contrast for glow.
- Remove scratches and blemishes with the clone stamp tool.
- Enhance colors with selective color adjustments.
- Sharpen the image to highlight fine details.
Adding Shadows for Depth
Shadows make jewelry look real. Here's how to add them:
- Choose where the light comes from.
- Use the 'Drop Shadow' effect to create a soft shadow.
- Change shadow opacity for a natural look.
Creating Reflections for a Luxurious Feel
Reflections suggest luxury. Make pieces stand out:
- Duplicate the jewelry layer in your editing software.
- Flip it vertically and place below the original.
- Reduce opacity and add a gradient to simulate reality.
Maintaining Authenticity in Edits
When editing photos of jewelry, it's crucial to keep the images true to the actual products. Customers expect to see an accurate representation of what they're considering purchasing. The challenge lies in enhancing the photo to show off its best features without misleading the viewer. Here are some guidelines to maintain the authenticity of your jewelry product photos through careful editing.
Balancing Enhancement with Realism
Keeping jewelry edits real involves a delicate balance. On one hand, you want the image to be as stunning and eye-catching as possible. On the other hand, the jewelry should look like what customers will receive. Achieving this balance entails:
- Correcting only minor flaws that don't alter the essential character of the piece.
- Ensuring colors and textures match the actual item.
- Using shadows and highlights to accentuate not deceive.
Taking these steps assures the jewelry shines without deception.
Avoiding Over-editing Pitfalls
Over-editing occurs when one gets carried away with the vast array of tools available. This can lead to jewelry that looks flawless yet fake. To prevent falling into this trap:
- Limit adjustments to brightness and contrast.
- Avoid skewing the item's size or shape.
- Steer clear of heavy filters that alter natural hues.
By steering clear of excessive editing, you present a trustworthy image that customers can rely on.
Optimizing Images for Different Platforms
Optimizing Images for Different Platforms is crucial for showcasing jewelry products. It ensures visuals look stunning across all devices and media. Each platform has unique requirements. Understanding each can make a product shine both online and in print.
Web vs. Print Resolution Requirements
To meet Web resolution needs, use 72 PPI (Pixels per Inch) images. They load fast and look clear on screens. Print requires higher quality, typically 300 PPI. This ensures printed jewelry photos are sharp and detailed.
|
Platform |
Resolution |
|
Web |
72 PPI |
|
|
300 PPI |
Formatting For Social Media
Images for social media should grab attention. Ideal sizes vary by network:
- For Instagram, use square (1:1) or vertical (4:5) images.
- Facebook favors wide (16:9) or square formats.
- Pinterest images work best as tall verticals (2:3 or 1:2.1).
Remember file types. JPEGs are widely used, but PNGs work well for graphics with transparent backgrounds.
Conclusion
Editing jewelry photos can elevate your product's appeal significantly. Embrace these techniques and watch your images captivate potential customers. Remember, patience and practice refine your skills. Ready to showcase stunning jewelry visuals? Start editing now and create that perfect sparkle!
Related blog posts
How to Edit Clothing Product Photos to Drive Sales
Editing clothing product photos to boost sales involves enhancing visual appeal and ensuring image clarity. Use tools to adjust lighting, remove backgrounds, and showcase texture.

Low Angle Photography Tips
For stunning low angle photography, get close to the ground and use a wide lens. Experiment with perspectives to add a sense of grandeur or power to your subject.

Clipping Path Associate has empowered businesses globally for over 12 years. A passionate team is dedicated to providing meticulous photo editing services. Expertise is offered in a range of areas, from precise clipping paths to flawless image retouching. The company offers straightforward yet impactful solutions tailored for photographers, e-commerce enterprises, advertising agencies, web design firms, magazine publishers, printing companies, and more.
We Accept : 