
Theodore Lowe, Ap #867-859
Sit Rd, Azusa New York
Find us here
How to change color in Photoshop: A complete guide
Adobe Photoshop stands out prominently in the world of digital editing. Whether you are making color adjustments for a product photo for your e-commerce website or graphics perfection for your blogs, it makes it easy to select and swap the color of an object in a picture. In some situations, changing a picture's hue becomes more difficult than changing the entire photo. You have to learn how to change the color of the image without affecting the color of other parts.
In this article, you will learn how to remove a color in Photoshop step by step.
Why do you need to Change Colors in Photoshop?
Let’s first understand why changing colors in Photoshop is important:
- Brand Value: Ensure your images match your brand’s color ranges.
- Enhanced Visual attractiveness: Make your images eye-catching and attract more clients.
- Color Correction: Fix color mistakes in photographs.
- Seasonal Adjustments: Adjust product colors according to season.
Step-by-Step Guide to Changing Colors in Photoshop
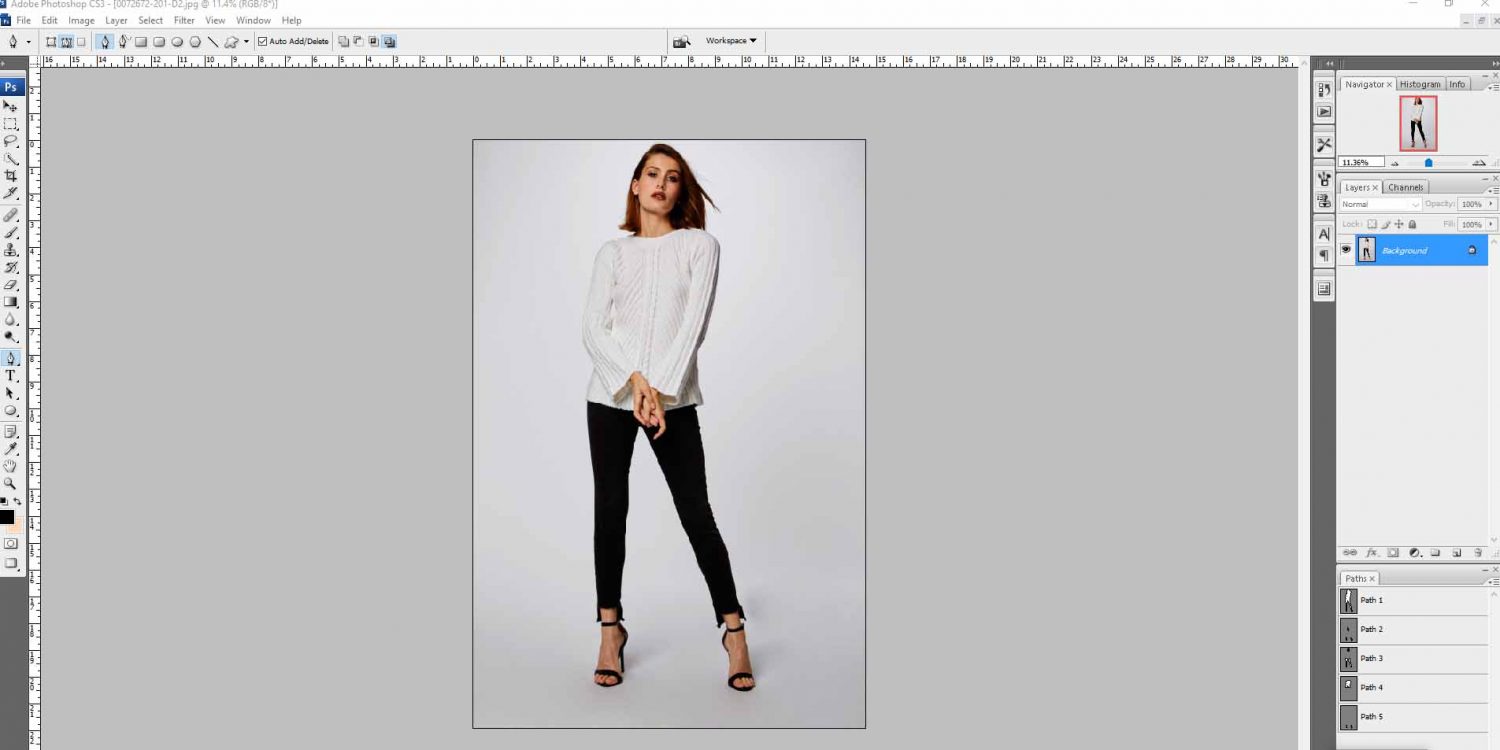
1. Open Your Image in Photoshop
- Launch Photoshop.
- Open your image by going to File>Open, then select the File from your computer.
- Select the Area to Change the Color.
2. Using the Quick Selection Tool
- Select the Quick Selection Tool from the toolbar (shortcut: W).
- Click and drag over the area where you want to change the color. Automatically, the tool will detect edges and create a selection.
3. Using the Pen Tool
- Select the Pen Tool from the toolbar (shortcut: P).
- Create a path around the object by clicking to create anchor points.
- Right-click and select “Make Selection.”
- Adjust the Hue/Saturation
- Go to Image> Adjustments>Hue/Saturation (shortcut: Ctrl+U or Cmd+U).In the N N Hue/Saturation dialog box, use the sliders to adjust the hue, saturation, and lightness of the image.
- Hue: Changes the color itself.
- Saturation: Increases or decreases the intensity of the color.
- Lightness: Adjusts the brightness of the color.
4. Use Color Replacement Tool
- Select the Color Replacement Tool from the toolbar (nested under the Brush Tool, shortcut: B).
- In the top menu, set the Mode to color and adjust the Sampling and Limits options as needed.
- Select the color and brush over the area you want to change. The tool will replace the original color with the foreground color.
- Mask out any areas you don’t want to affect by painting on the adjustment layer mask with a black brush.
5. Save Your Work
- Go to File>Save As.
- Choose the desired file format (e.g., JPEG, PNG) and save your edited image.
The four tools of Photoshop
Photoshop has four amazing tools to replace color in an image. These four Photoshop tools provide several ways to adjust the color of your photographs based on your needs and desired level of control:
- Hue/Saturation Adjustment Layer: This layer is useful for fine-tuning specific color ranges and making wide changes.
- Color Replacement Tool: Ideal for making simple, easy changes in certain parts.
- Selective Color Adjustment Layer: Useful for precise control over different color channels.
- Replace Color Tool: Perfect for exact color switching with instant feedback.
To get the exact required colors to enhance your images, be an expert with these tools to get colorful and professional images.
Conclusion
Adobe Photoshop has many powerful editing tools for image enhancement. Using the steps mentioned above, you can become an expert in changing colors in Photoshop. Practice to become a pro in Photoshop to create outstanding images.
Related blog posts
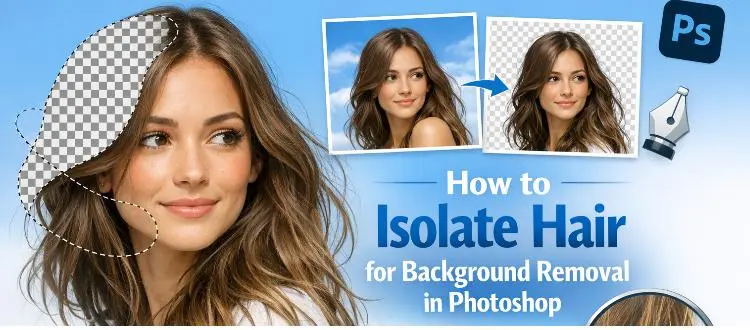
How to Isolate Hair for Background Removal in Photoshop
Are you tired of spending hours trying to perfectly isolate hair from a background in Photoshop, only to end up with messy, unnatural edges? You're not alone.
Clipping Path Associate has empowered businesses globally for over 12 years. A passionate team is dedicated to providing meticulous photo editing services. Expertise is offered in a range of areas, from precise clipping paths to flawless image retouching. The company offers straightforward yet impactful solutions tailored for photographers, e-commerce enterprises, advertising agencies, web design firms, magazine publishers, printing companies, and more.
We Accept : 